Fixout walkthrough
Posted by | Posted in Fixing | Posted on 26-02-2011
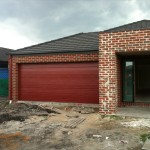
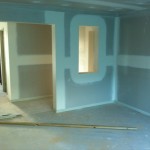
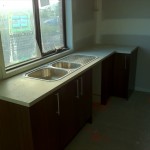
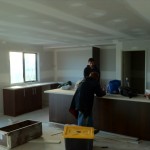
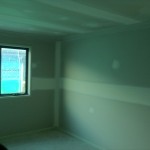
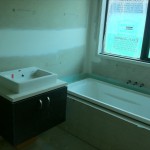
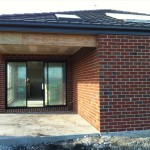
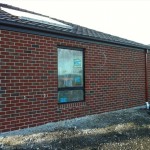
We had a walkthrough at the fix out stage on Monday (sorry for the long delay between then and now!) and we got a good look at the house inside to see how things were progressing. It’s been going pretty well, the painters were in preparing the interior for painting and the plaster bulkhead above our kitchen cabinets were in place. The house also got a brick clean and it looks brilliant.
Naturally there still were some outstanding issues:
- Exposed reo wasn’t fixed yet at the back – we brought a shovel with us and physically dug at the back, once the exposed reo was found the SS sprayed it with pink paint.
- Laundry door – this was damaged before the framing stage, it’s been patched up now although was verbally promised by the SS’s manager that the door will be replaced. It’s fine now, so we figured it’s not worth chasing this one up.
- Spouting / gutters – they are still crooked in some places. The SS and my father in law spent a good 10 minutes discussing what is right and what is wrong – the SS eventually gave in and said that he’ll get it looked at, but “can’t guarantee anything” (direct quote)
- Fascia at the back of the garage, above external door – this is clearly crooked (sorry should’ve taken a photo of this). SS apparently couldn’t see it as an issue, and thought it wasn’t crooked. It’s clear that one end of the fascia is higher than the other; you can use the mortar lines of the brickwork as a general rule. I told him “well it’s either the fascia that’s crooked, or the brickwork”, eventually the SS agreed to “look into it”, but again “no guarantees”.
- The back toilet window from the inside looks crooked, right side of the wooden window frame (the architrave / flashing that’s applied during the fixing stage) is about 3 mm lower than the left. Does anyone know if this is outside the guidelines? I can’t find anything specific on this.
- Alfresco door architrave at the top has bowed on the left side by a couple of mm. The SS used a hammer and tapped it in on the spot, not sure if it made much of a difference.
- Alfresco outside door seal rubber has bunched up and you can see the end of the mortar behind the bricks – SS said he would look into it.
Overall a positive experience, although a few little things that need to get looked at. Gutters and fascia seem to be the big items on that list for me.
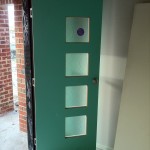
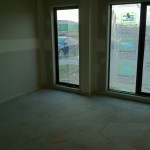
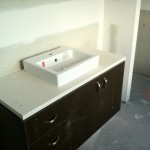
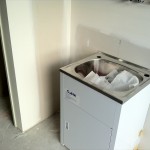
Here are some pictures as I know you all love looking at them.
Update: I’m posting this post on the Saturday 26th February, while the events described in this post occurred on Monday 21st February. Some things have been updated; namely the ceilings and walls have been painted (I believe the walls need one more lick of paint before it being completed), the exposed reo at the back has been fixed (finally!), and our garage door has been installed – see picture attached.

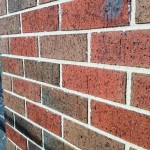
Love ur bricks! Such a nice colour~ and ur kitchen looks great!
I’m building with BB as well, still waiting for the amended drawings.
Hi George and Maria,
We opted for the same kitchen layout and wondering if your island benchtop has a joint or is just one slab of stone.
thanks
Thanks Chanel! When we were researching different possible bricks for our build, we fell in love with the Canterbury from Australbrick, everything else paled in comparison for us.
Hope your build is going well, what stage are you at right now?
Hi Sope,
We went with a laminex/laminated benchtop (so not stone), to be honest I’m not sure if there is a join in the middle or not, I haven’t really been paying attention to that. Next time I’m in I’ll go have a look.